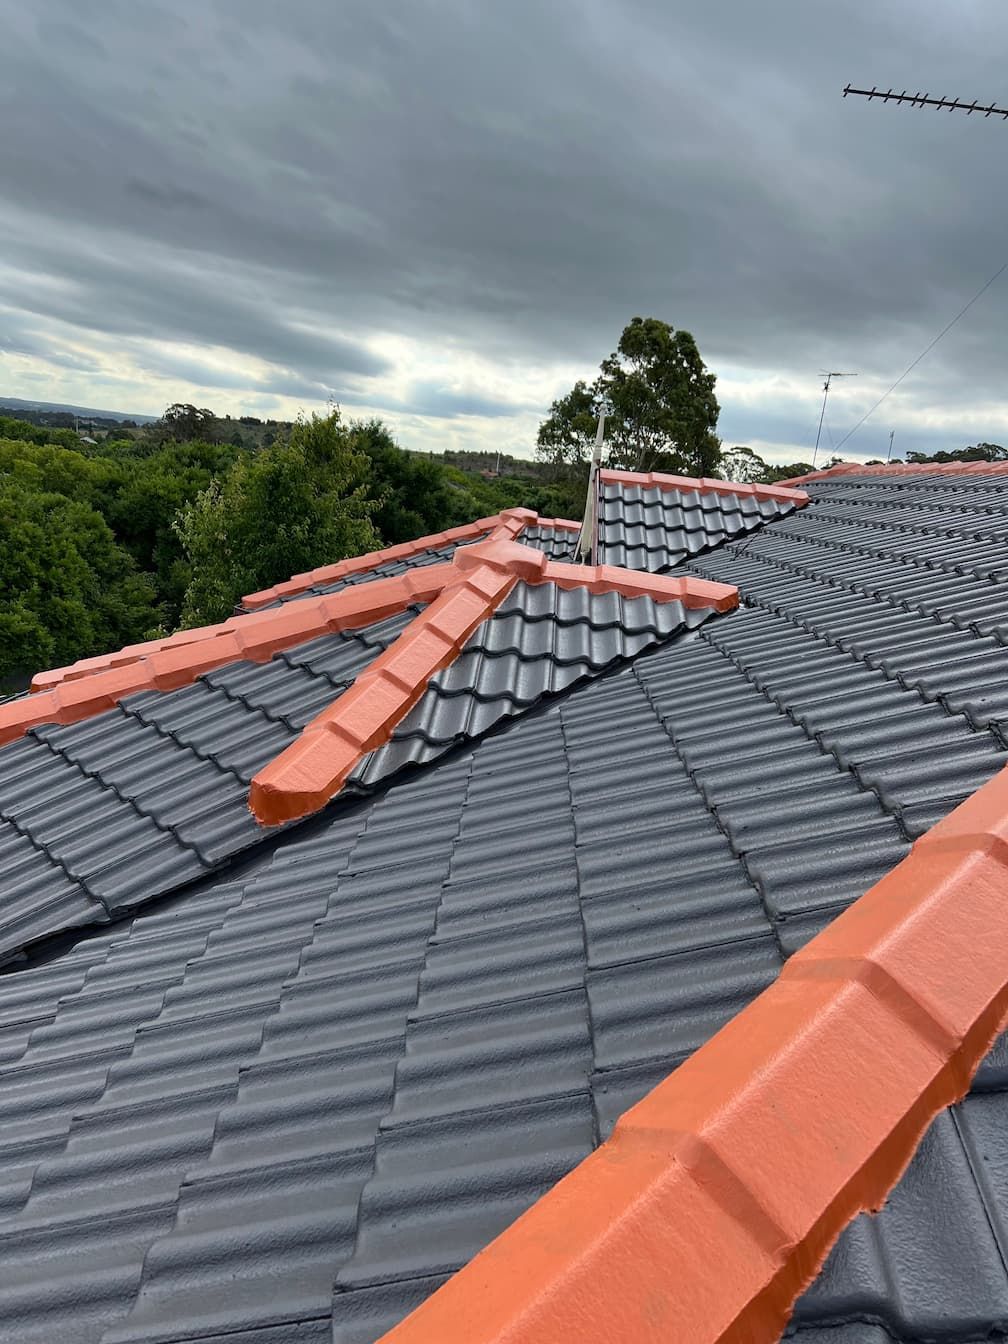
How To Install A Whirlybird
Roof ventilation plays a crucial role in maintaining the health and comfort of your home. Without proper ventilation, hot air, moisture, and condensation can build up in your roof cavity, leading to higher energy bills, mould growth, and premature roof deterioration.
One of the simplest and most effective solutions is a whirlybird. These small, spinning roof ventilators are designed to extract hot and moist air from your roof space — helping regulate temperature, reduce humidity, and improve airflow.
In this guide, we’ll explain what whirlybirds do, the different types available, and how to install a whirlybird step-by-step.
What Does a Whirlybird Do?
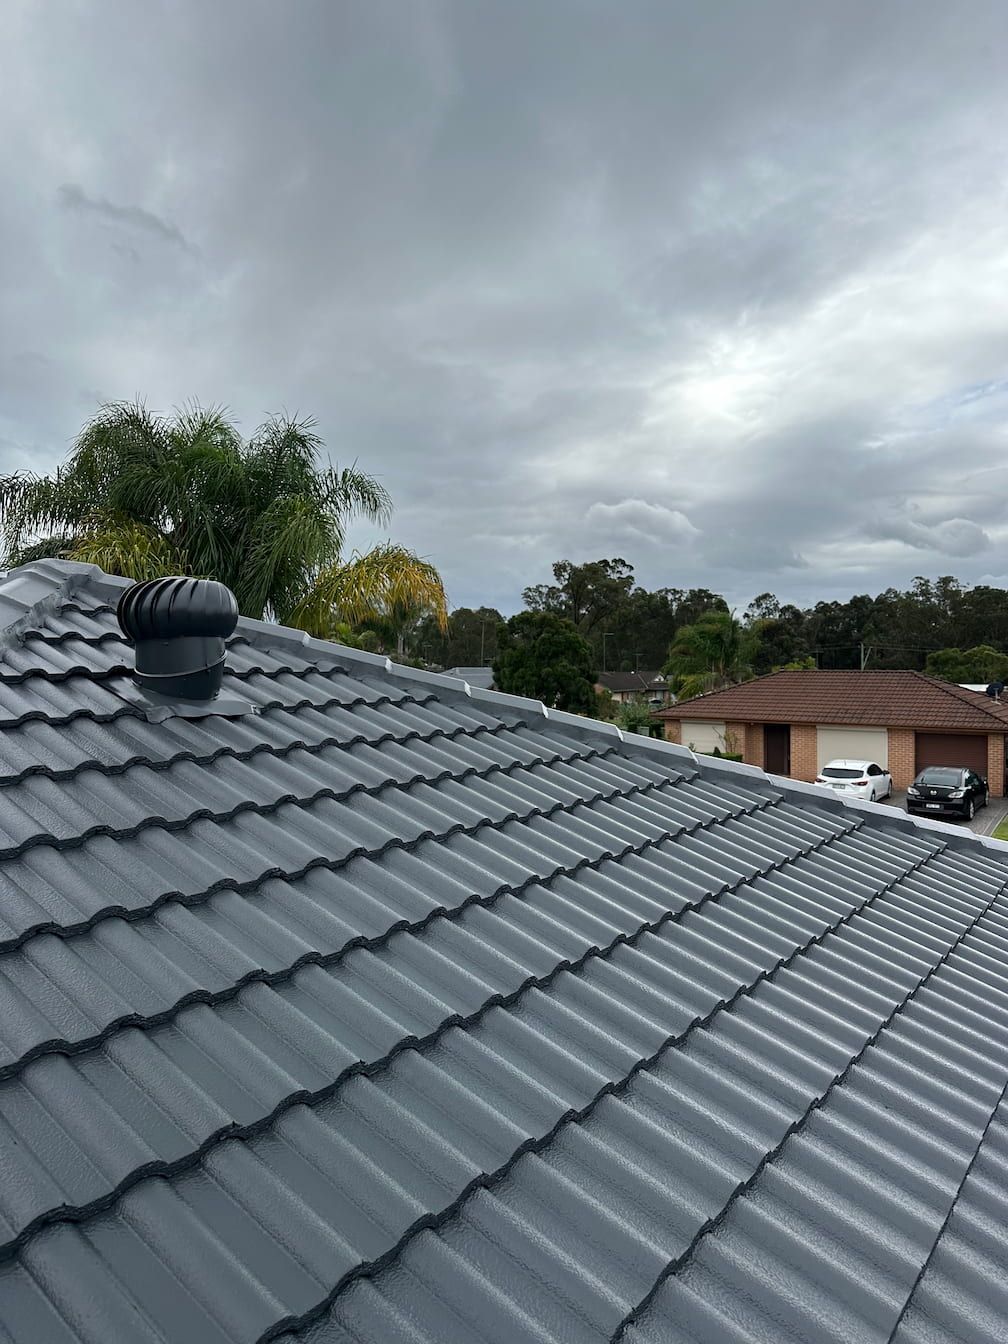
A whirlybird, also known as a roof vent or turbine vent, is a wind-powered ventilation device mounted on the roof. When the wind blows, the whirlybird’s fins spin, creating a suction effect that draws out hot, humid, or stale air from the roof cavity.
By constantly circulating air, whirlybirds help to:
- Reduce roof space temperature during hot weather
- Prevent condensation and dampness caused by humidity
- Lower cooling costs by easing the load on air-conditioning systems
- Prolong the life of insulation, roofing materials, and timbers
- Improve comfort inside your home year-round
Even when there’s minimal wind, some modern whirlybirds continue to ventilate passively, helping to maintain airflow in the roof cavity.
Different Types of Whirlybirds
While the classic silver, wind-powered model is most common, there are several types of whirlybirds designed to suit different homes, roof types, and climates.
1. Wind-Driven Whirlybirds
The traditional and most popular style, wind-driven whirlybirds use wind energy to spin the turbine and expel air. They are cost-effective, easy to install, and require no electricity.
Pros:
- Affordable and reliable
- Simple installation
- No running costs
Cons:
- Less effective in low-wind areas
- Performance depends on wind direction and speed
2. Solar-Powered Whirlybirds
Solar whirlybirds use small solar panels to power a fan that actively extracts air, even without wind.
Pros:
- Consistent airflow regardless of wind
- Ideal for still or humid climates
- Energy-efficient and environmentally friendly
Cons:
- Higher upfront cost
- Slightly more complex installation
3. Electric Roof Ventilators
Electric or hybrid roof ventilators are powered by electricity and often feature thermostatic control to operate automatically when the roof temperature rises.
Pros:
- Reliable ventilation in any weather
- Ideal for large homes or commercial buildings
Cons:
- Requires power connection
- Higher energy costs and maintenance
4. Whirlybird Sizes and Materials
Whirlybirds are available in different sizes, typically ranging from 250mm to 350mm in diameter for residential roofs.
They are usually made from:
- Aluminium: Lightweight and rust-resistant
- Stainless Steel: Extremely durable and ideal for coastal areas
- Colour-Coated Steel: Matches roof colours for aesthetic appeal
How Many Whirlybirds Does Your Roof Need?
The number of whirlybirds you’ll need depends on your roof size, ceiling height, insulation type, and local climate.
As a general guide:
- Small home (1–2 bedrooms): 1–2 whirlybirds
- Medium home (3–4 bedrooms): 2–3 whirlybirds
- Large home (5+ bedrooms): 3–4 whirlybirds
Homes in hot or humid regions may benefit from additional units to improve airflow. For best results, whirlybirds should be evenly spaced across the roof for balanced ventilation.
How to Install a Whirlybird
Installing a whirlybird can be done by a professional roofer or, for those confident working at heights, as a DIY project. However, safety should always be your top priority. Use roof ladders, harnesses, and non-slip shoes, and avoid installing in windy or wet conditions.
Here’s a step-by-step overview of how to install a wind-driven whirlybird on a tiled or metal roof.
Tools and Materials Needed
- Whirlybird kit (vent, flashing, and screws)
- Cordless drill or screwdriver
- Tin snips or angle grinder
- Measuring tape
- Silicone sealant or roof sealant
- Ladder and safety harness
- Marker or pencil
Step 1: Choose the Right Location
Select a position near the ridge (top) of the roof but not directly on the apex. Installing it near the ridge ensures hot air, which naturally rises, is efficiently expelled.
Avoid placing it near large trees, antennas, or other obstructions that could restrict airflow.
Step 2: Mark the Hole
Use the whirlybird’s base or flashing as a template. Mark a circle on the roof sheet or tile where the vent will be installed. Ensure the opening is slightly smaller than the internal throat diameter of the vent.
Step 3: Cut the Hole
For a metal roof, use tin snips or an angle grinder to cut along the marked line.
For a
tiled roof, remove a few tiles and cut through the sarking or underlay using a utility knife.
Take care to avoid damaging nearby tiles or sheets during cutting.
Step 4: Fit the Flashing
The flashing is the metal or flexible base that seals the vent to the roof and prevents leaks. Slide the top edge of the flashing under the upper roof sheet or tile, and position the lower edge over the sheet below.
Ensure it lies flat against the roof surface for a watertight fit.
Step 5: Secure the Flashing
Apply roofing sealant around the underside edges of the flashing.
Drill screws through the pre-drilled holes in the flashing and into the roof sheet or batten, securing it firmly in place.
For tiled roofs, re-lay the removed tiles carefully around the flashing, trimming if necessary to create a snug fit.
Step 6: Attach the Whirlybird Head
Place the whirlybird head (the spinning top) onto the throat or upstand of the flashing. Adjust it so it sits vertically, ensuring smooth rotation. Tighten all bolts or screws to secure it in position.
Step 7: Seal and Test
Apply a bead of silicone sealant around the joints to prevent leaks.
Spin the turbine by hand to ensure it rotates freely and silently.
If you’re installing multiple whirlybirds, repeat the process at evenly spaced points along the roof ridge.
Maintenance Tips for Whirlybirds
While whirlybirds are low-maintenance, occasional checks can help them last longer and work efficiently.
Annual Maintenance Checklist
- Ensure the turbine spins smoothly and silently.
- Tighten any loose screws or bolts.
- Check for signs of corrosion or worn bearings.
- Clear debris such as leaves, dirt, or bird nests.
- Reapply sealant if any joints look cracked or weathered.
Most quality whirlybirds are designed to last 10–15 years or more, especially when properly maintained.
Benefits of Installing a Whirlybird
Installing a whirlybird offers numerous long-term advantages:
- Lower Roof Temperatures: Removes trapped heat, reducing attic temperatures by up to 10°C.
- Reduced Cooling Costs: Keeps your home cooler in summer, lowering air-conditioning use.
- Moisture Control: Prevents condensation that can lead to mould or wood rot.
- Energy Efficiency: Wind-driven models operate entirely without electricity.
- Extended Roof Lifespan: Helps preserve roof materials, insulation, and ceilings.
With Australia’s hot summers, installing one or more whirlybirds is a simple and affordable way to boost comfort and improve energy efficiency.
Conclusion
Installing a whirlybird is one of the most effective ways to improve ventilation in your roof space. These clever devices help expel hot, humid air and keep your home cooler, drier, and more comfortable year-round.
Whether you choose a wind-powered, solar, or electric whirlybird, the installation process is straightforward — but must be done correctly to ensure a watertight, efficient result.
For optimal results, get in touch with Rapid Roof Services in Sydney - the experts in whirlybird installation.
Written by Ryan Wilson
With over 15 years of roofing experience, Ryan is committed to delivering high-quality results for every client. As the owner and director of Rapid Roof Services, he takes pride in honest advice, unbeatable workmanship and ensuring every roof is restored to the highest standard.


