How To Fix A Leaking Roof Tile
A leaking roof tile is something you never want to ignore. What starts as a small drip can quickly turn into a much bigger issue, leading to water damage, mould, insulation problems, and costly repairs. The good news is that in many cases, a leaking roof tile can be identified and fixed before it escalates—if you act early.
Whether you’ve noticed a damp patch on your ceiling or water dripping during heavy rain, this guide will walk you through how to fix a leaking roof tile, what causes it, and when it’s best to call a professional.
What Causes A Roof Tile To Leak?
Roof tiles are designed to protect your home from the elements, but over time they can become damaged or compromised. Even a small issue can allow water to enter your roof cavity.
Some of the most common causes of a leaking roof tile include:
- Cracked or broken roof tiles
- Slipped or dislodged tiles
- Worn or deteriorated pointing and bedding
- Debris build-up blocking water flow
- Rusted or damaged flashing around roof penetrations
- Poor installation or ageing roof materials
In many cases, the leak isn’t directly under where water enters. Water can travel along rafters or sarking before it becomes visible inside your home.
Signs You Have A Leaking Roof Tile
Before fixing the issue, you need to confirm that a leaking tile is the cause.
Look out for these common signs:
- Water stains or brown patches on ceilings
- Dripping water during or after rain
- Mould or mildew smells in the ceiling space
- Damp insulation in the roof cavity
- Visible cracked or shifted tiles on the roof
Catching these signs early can save you from more serious structural damage.
Step 1: Locate The Source Of The Leak
Finding the exact source of the leak is one of the most important steps—and often the trickiest.
Start by checking inside your roof cavity (if it is safe to do so). Look for:
- Damp timber or insulation
- Water trails or staining
- Light coming through gaps in the roof
Try to trace the water back to its highest point, as this is usually where it is entering.
Keep in mind that water can travel, so the visible leak inside may not line up perfectly with the damaged tile above.
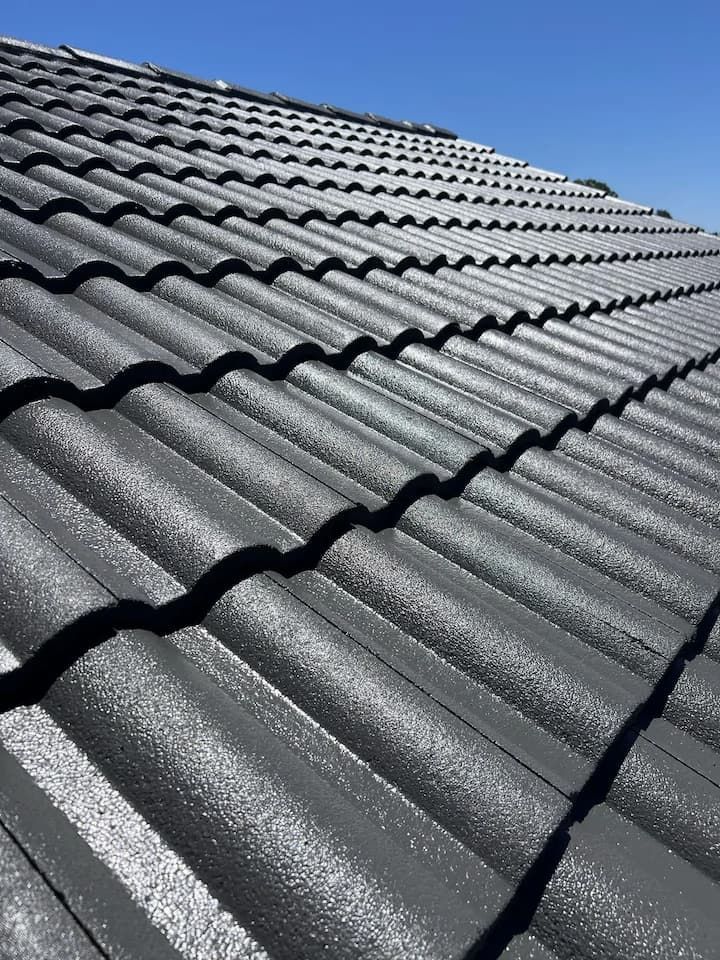
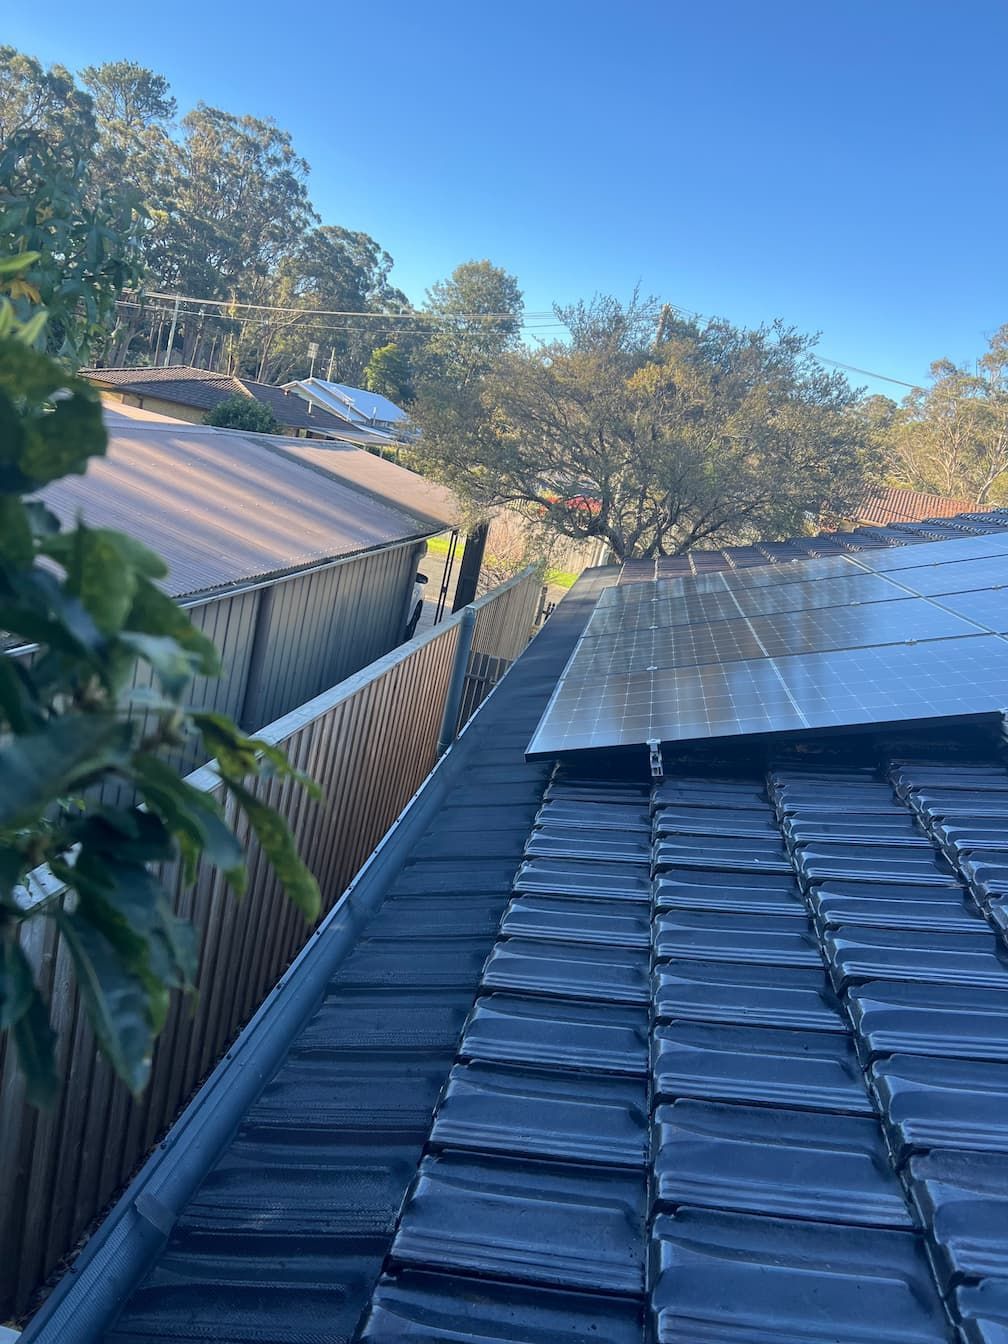
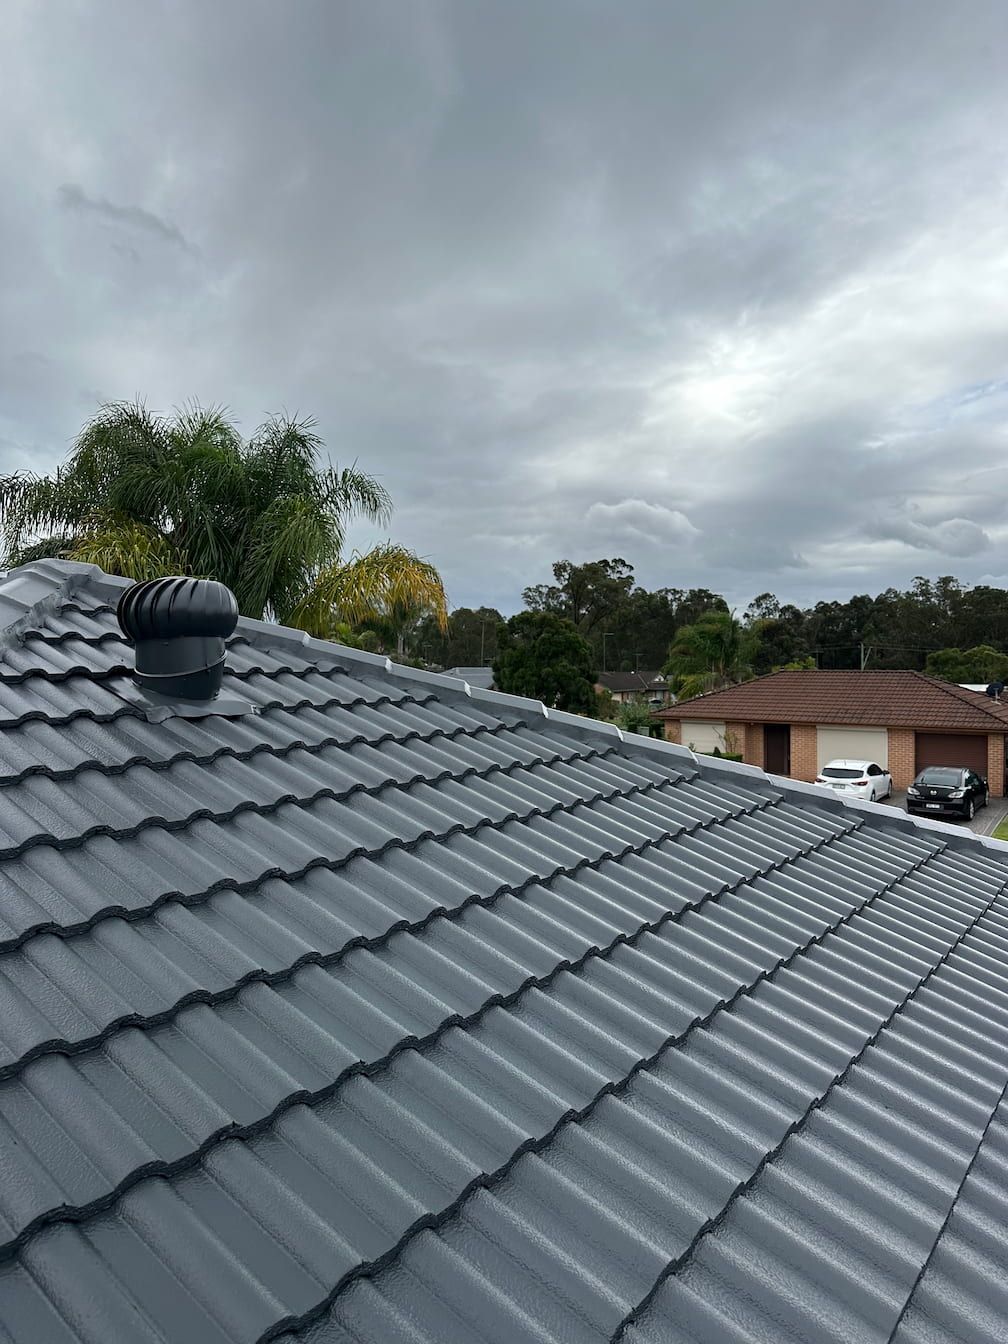
Step 2: Inspect The Roof Tiles
Once you have a general idea of where the leak is, inspect the roof tiles from the outside.
Look for:
- Cracked or broken tiles
- Tiles that have slipped out of place
- Gaps between tiles
- Loose ridge capping
- Debris build-up around the area
If you are climbing onto the roof, make sure you take proper safety precautions. Roof work can be dangerous, especially on steep or wet surfaces.
If you are unsure or uncomfortable, it’s best to leave this step to a professional.
Step 3: Replace A Broken Roof Tile
If you find a cracked or broken tile, replacing it is usually the most effective solution.
Here’s a basic overview of the process:
- Carefully lift the tiles above the damaged one
- Slide the broken tile out
- Insert a new matching tile into position
- Lower the surrounding tiles back into place
Make sure the replacement tile sits correctly and aligns with the surrounding tiles to maintain proper water flow.
It’s important to use the correct tile type and size to avoid creating new gaps or issues.
Step 4: Reposition Slipped Tiles
Sometimes tiles haven’t broken—they’ve simply moved out of position.
This can happen due to:
- Strong winds
- Ageing clips or fixings
- Roof movement over time
If a tile has slipped, carefully lift the surrounding tiles and slide it back into place.
Ensure it sits securely and overlaps correctly with the tiles around it. Poor alignment can allow water to enter even if the tile itself isn’t damaged.
Step 5: Seal Small Cracks (Temporary Fix)
If a tile has a small crack and you need a temporary solution, you can use a roofing sealant to stop water from entering.
Apply a waterproof roofing sealant over the crack and allow it to cure according to the product instructions.
However, this is only a short-term fix. Cracked tiles should be replaced as soon as possible to ensure long-term protection.
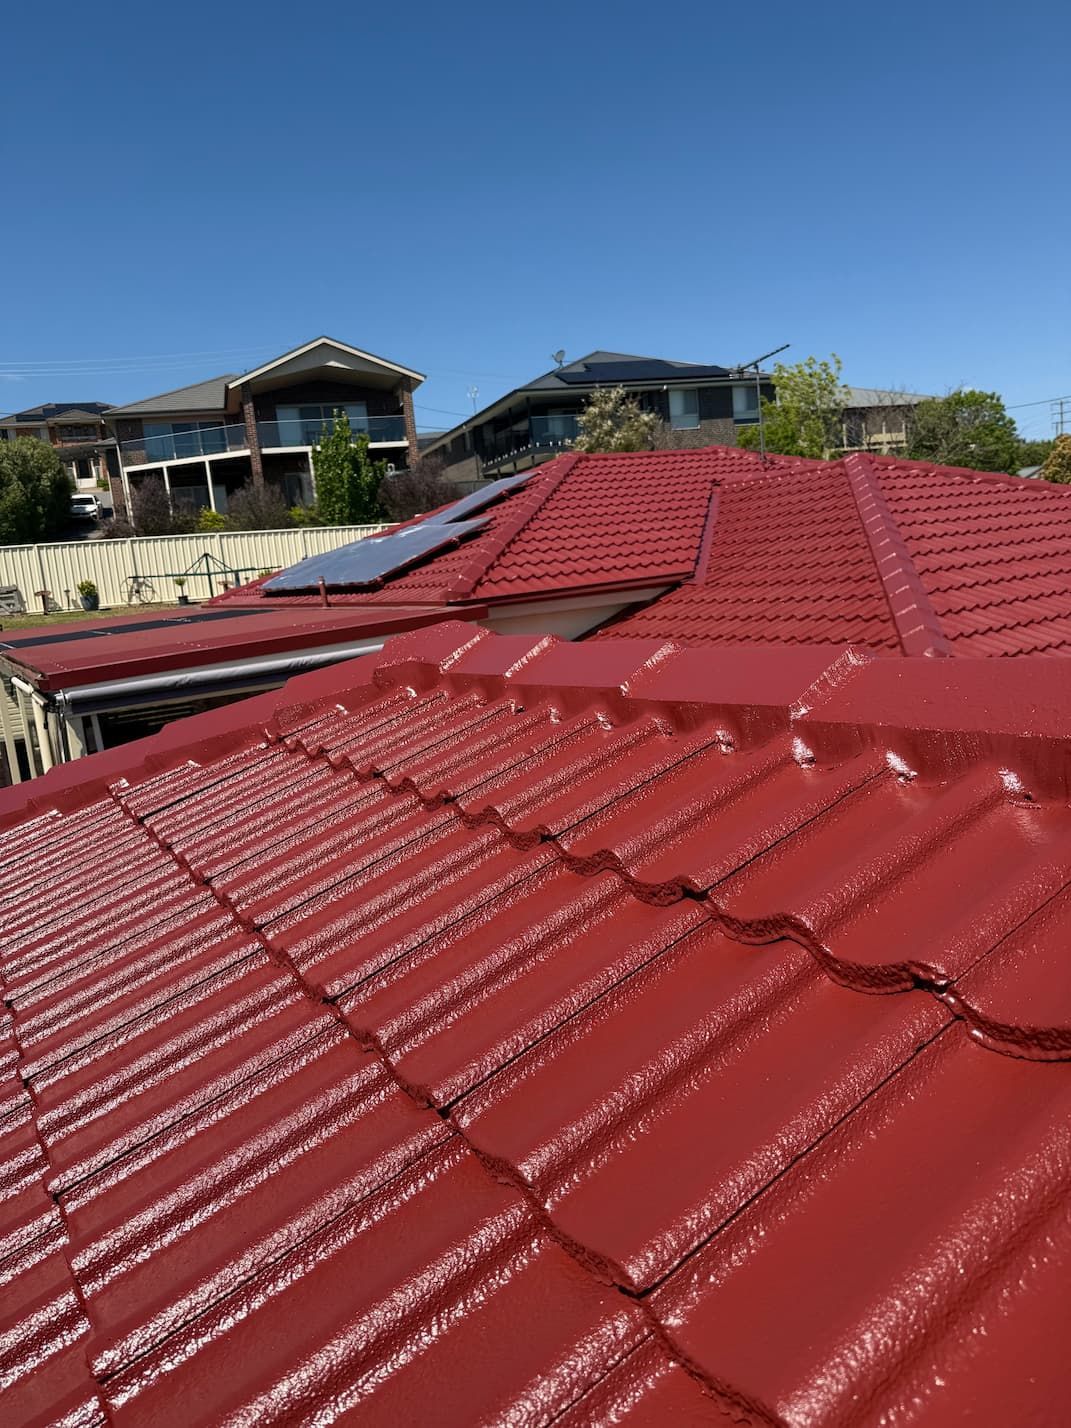
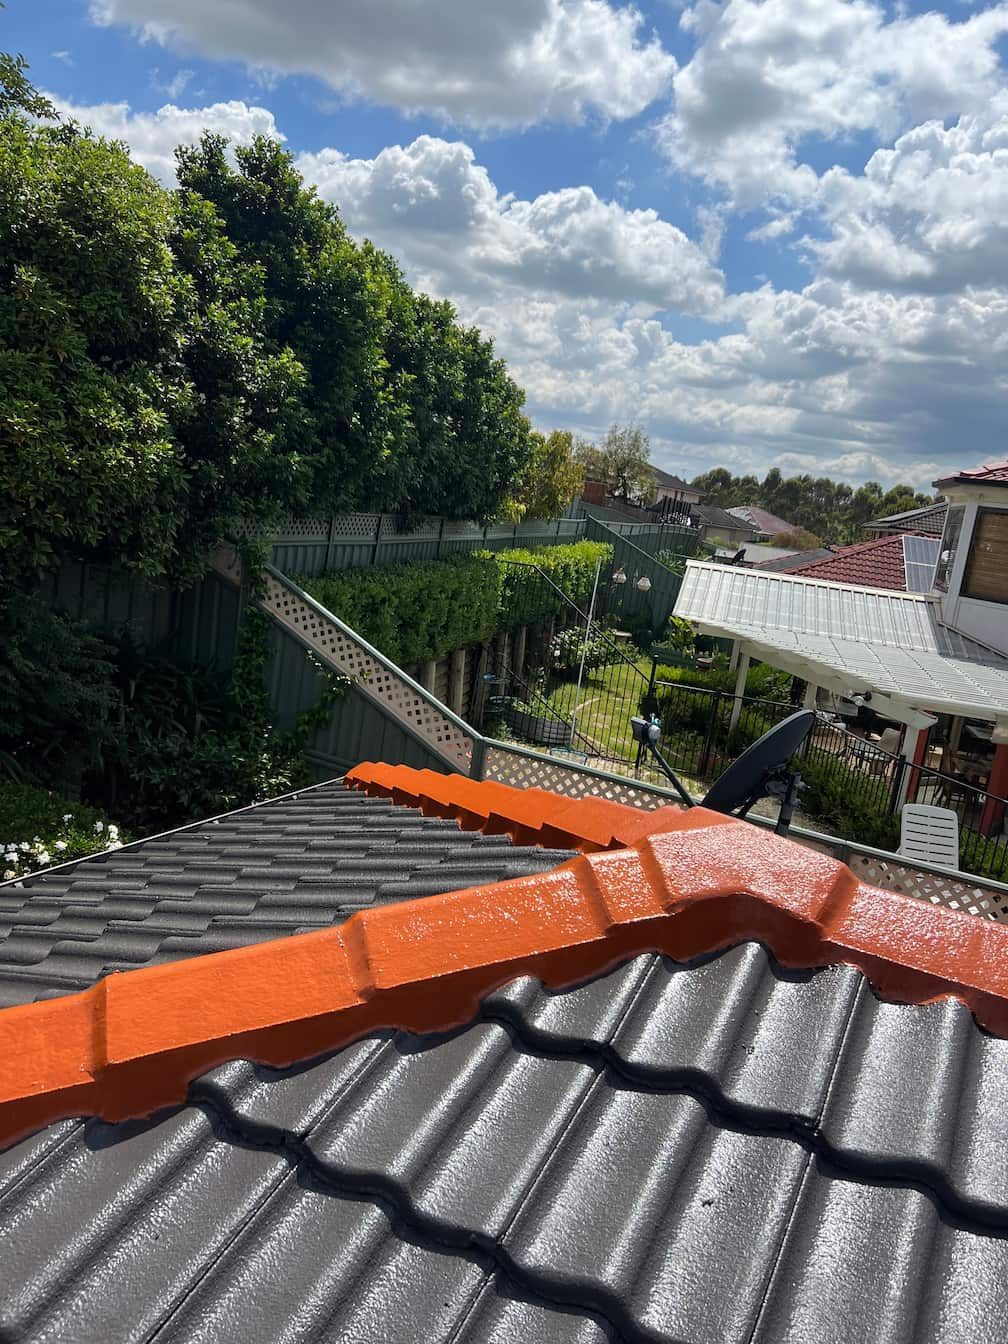
Step 6: Check Ridge Capping & Pointing
Leaks are not always caused by standard roof tiles. Ridge capping—the tiles that run along the peak of your roof—can also be a common problem area.
Check for:
- Cracked or missing pointing
- Loose ridge caps
- Gaps where water can enter
If the pointing (the mortar or flexible compound holding ridge tiles in place) is deteriorating, it may need repointing or rebedding.
This is a more specialised repair and is often best handled by a professional roofer.
Step 7: Clear Debris From The Roof
Blocked areas of your roof can cause water to pool and find its way under tiles.
Check for:
- Leaves and branches
- Dirt build-up
- Moss or lichen growth
Clearing debris allows water to flow properly off the roof and reduces the risk of leaks.
When A Leaking Tile Isn’t The Only Problem
Sometimes what looks like a single leaking tile is actually part of a bigger issue.
You may be dealing with:
- Multiple damaged tiles
- Worn roof bedding and pointing
- Ageing roof materials
- Issues with flashing or valleys
- A roof that needs restoration
If leaks are appearing in multiple areas or keep coming back, it may be time to look at a more comprehensive repair or roof restoration.
When To Call A Professional Roofer
While some minor fixes can be handled yourself, there are plenty of situations where calling a professional is the safest and most effective option.
You should consider contacting a roofer if:
- You can’t locate the source of the leak
- The roof is steep or unsafe to access
- Multiple tiles are damaged
- Ridge capping or pointing needs repair
- The leak keeps returning
- There is significant water damage inside
A professional roofer has the experience, tools, and safety equipment to properly diagnose and fix the issue without causing further damage.
How To Prevent Roof Tile Leaks
Prevention is always better than repair. Regular maintenance can help extend the life of your roof and reduce the risk of leaks.
Regular Roof Inspections
Check your roof periodically for cracked, loose, or damaged tiles—especially after storms.
Clean Your Roof & Gutters
Removing debris helps maintain proper drainage and prevents water from backing up under tiles.
Address Small Issues Early
Fixing minor damage early can prevent it from turning into a major leak.
Maintain Ridge Capping & Pointing
Keeping ridge tiles secure and properly sealed is key to preventing water entry.
Consider Roof Restoration
If your roof is ageing, a full restoration may be more cost-effective than ongoing repairs.
Don’t Ignore A Leaking Roof Tile
A leaking roof tile might seem like a small problem, but it can lead to serious damage if left untreated. Water can affect your ceiling, insulation, electrical systems, and even the structural integrity of your home.
The best approach is to act quickly. Identify the source, carry out minor repairs if it’s safe to do so, and call in a professional if the issue is more complex.
Repairing a leaking roof tile early can save you time, money, and a lot of stress down the track.

Written by Ryan Wilson
With over 15 years of roofing experience, Ryan is committed to delivering high-quality results for every client. As the owner and director of Rapid Roof Services, he takes pride in honest advice, unbeatable workmanship and ensuring every roof is restored to the highest standard.