
How To Install Roof Flashing
Installing roof flashing involves selecting a suitable detail, measuring and forming the components, positioning them to direct water correctly, and securing them with compatible fixings and seals. The installation method depends on the roof material, pitch, profile and location of the flashing.
There is no single flashing detail that works around every chimney, wall or roof penetration. A component that looks neatly fitted can still leak if its overlaps, drainage path or connection to the surrounding materials are incorrect.
At Rapid Roof Services, we provide roof inspections and repairs across Sydney and the Southern Highlands. Our advice is to establish how water should move through the junction before deciding how the flashing should be installed.
This guide explains the installation process, differences between tiled and metal roofs, and common mistakes to avoid. It is a homeowner’s overview rather than a substitute for the installation instructions for a particular roofing system.
What Does Roof Flashing Do?
Roof flashing protects locations where the main roof covering is interrupted or meets another building component.
These areas include roof-to-wall junctions, chimneys, skylights, vents, valleys and changes in roof pitch.
The flashing directs water away from vulnerable openings and towards the intended drainage path. Its performance depends on how it connects with the roof and, where relevant, the wall construction.
Correct installation therefore involves more than covering a gap. The component needs to work with the surrounding materials during ordinary rainfall, heavier runoff and wind-driven rain.
Can You Install Roof Flashing Yourself?
Roof flashing installation is generally best left to an appropriately qualified roofing professional.
The work combines roof access, sharp materials and details that can be difficult to assess from above. Incorrect installation may create water entry without an obvious external warning.
Replacing flashing can also require lifting tiles, loosening sheets or disturbing adjoining components. These areas need to be reinstated correctly.
For homeowners, understanding the process is useful when comparing quotes and discussing repairs. However, climbing onto the roof to copy a generic flashing detail can create both safety risks and further roofing problems.
What Determines The Installation Method?
Before work begins, the installer needs to identify:
- The roofing material and profile.
- The roof pitch and junction geometry.
- Where water approaches and exits the detail.
- The condition of adjoining roofing.
- Suitable flashing materials and fixings.
- Whether standard or custom components are required.
- How the detail will accommodate movement.
- The relevant manufacturer’s installation requirements.
An existing flashing should not automatically be copied. If it has been leaking because of its design, replacing it with the same shape may reproduce the problem.
Common Flashing Locations And Installation Considerations
| Flashing Location | Installation Considerations |
|---|---|
| Roof-to-wall junction | Connect the roof flashing with an appropriate wall detail and maintain a clear drainage path. |
| Chimney | Coordinate the uphill, side and downhill components with suitable protection at the masonry junction. |
| Pipe or roof vent | Choose a flashing suitable for the penetration, roof profile and operating temperature where applicable. |
| Skylight | Use the specified flashing system for the skylight model, roofing material and roof pitch. |
| Valley | Provide suitable support, roofing clearances and an unobstructed discharge into the drainage system. |
| Metal roof ridge or gable edge | Match the capping to the roof geometry and follow the system's overlap, profiling and fixing requirements. |
How To Install Roof Flashing: The Main Stages
1. Inspect The Junction And Identify The Problem
On an existing roof, the first step is understanding why the flashing needs attention.
The issue might involve corrosion, displacement, inadequate coverage, failed connections or restricted drainage. Water entering nearby may also have another source.
Inspect the surrounding tiles or sheets, wall surfaces and drainage components. Replacing flashing will not resolve a separate broken tile or damaged roof sheet.
At Rapid Roof Services, we recommend investigating the whole junction before selecting the repair. This helps avoid replacing one component while leaving the actual entry point unresolved.
2. Measure And Specify The New Flashing
Accurate measurements establish the required shape, bends, lengths and coverage.
The installer also needs to account for the roofing profile and the connection to adjoining components. A simple overall length is not enough to order a custom flashing.
Where several pieces join, their arrangement must accommodate the required overlaps and movement. Material, finish and colour orientation should also be specified correctly.
A well-made component should fit the intended detail without being forced into position or relying on excessive sealant to fill avoidable gaps.
3. Prepare The Work Area
Safe access and suitable weather conditions should be arranged before removing existing components.
The work area needs to be prepared so adjoining roofing can be lifted or loosened without unnecessary damage. Exposed openings may require temporary weather protection.
Old sealant, debris and loose material should be removed where necessary. Any deterioration revealed beneath the flashing needs assessment before the new component is installed.
Covering damaged supporting materials without addressing them can compromise the repair.
4. Remove Defective Components Carefully
Existing flashing should be removed without unnecessarily damaging serviceable tiles, sheets or wall finishes.
The removal method depends on how the component is attached. Some details are connected beneath roof coverings or protected by separate counterflashings.
On older buildings, unfamiliar materials should be identified before cutting or disturbing them.
Once the area is exposed, the installer can confirm whether the planned replacement detail remains appropriate or whether additional repairs are required.
5. Fit The Flashing Into The Roof System
The new flashing is positioned according to the detail for that location.
Some sections sit beneath adjoining roofing, while others discharge water onto its surface. The arrangement should allow water to move through the junction without entering beneath the intended overlaps.
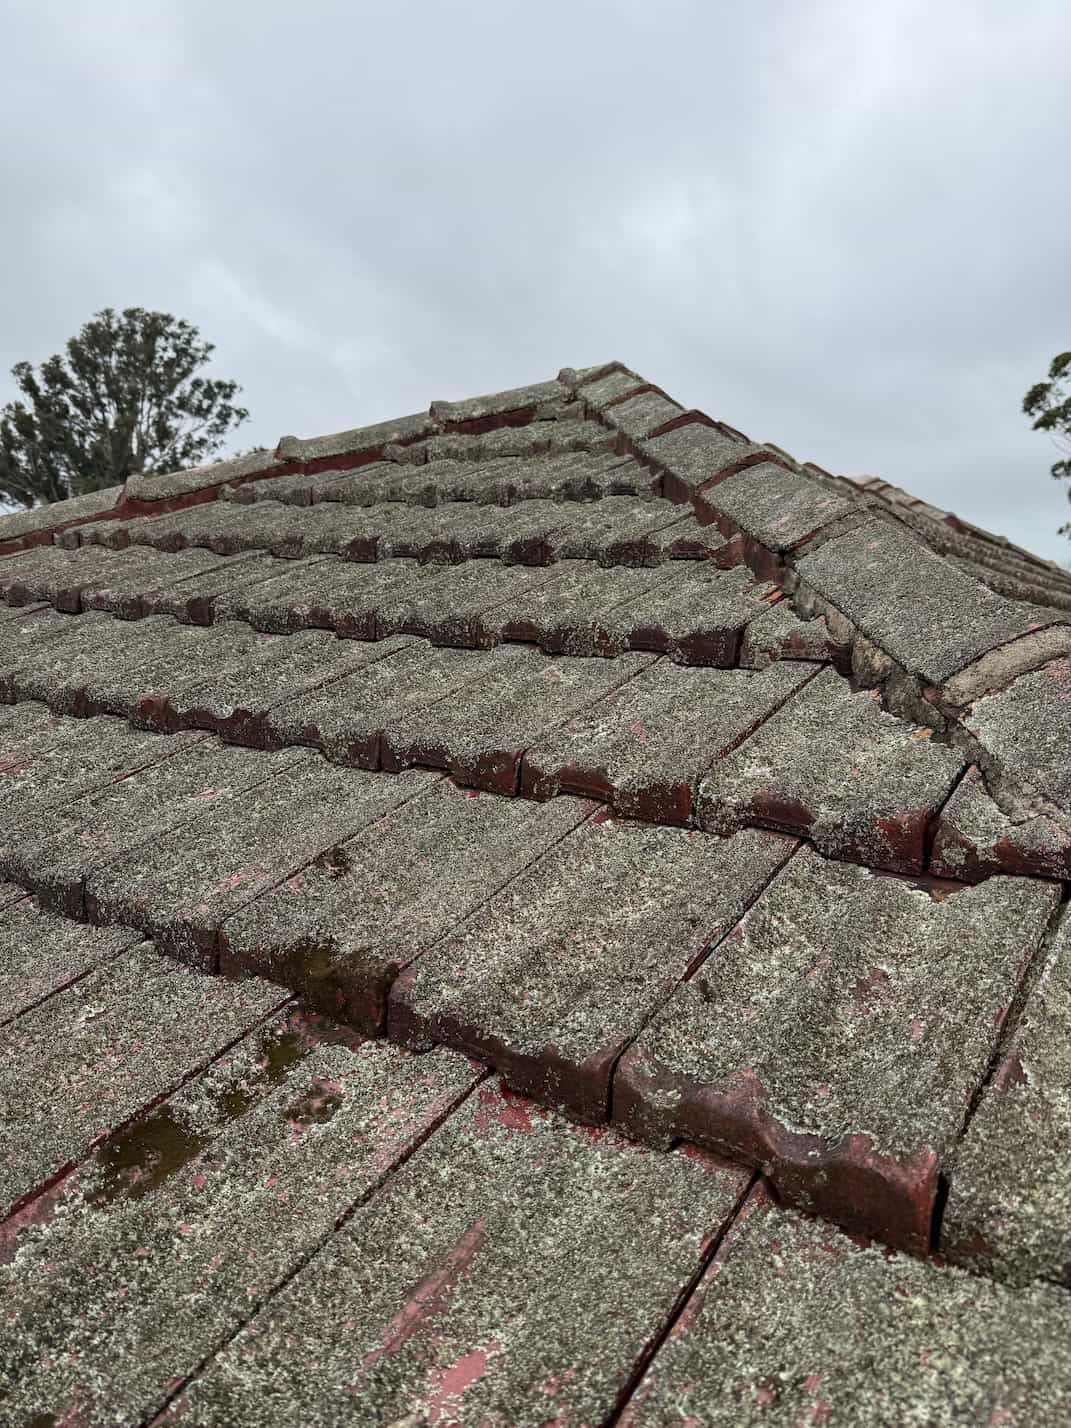
For tiled roofs, this involves coordinating the flashing with the tile layout and drainage channels. For metal roofs, it may involve profiling components to suit ribs or corrugations.
Flashing should not create a dam, obstruct a valley or redirect runoff towards another opening.
6. Secure And Seal As Specified
Fixings must suit the flashing material, supporting construction and exposure.
Their type, location and spacing should follow the relevant roofing detail. There is no universal fixing pattern suitable for every installation.
Compatible sealants may be required at specified joints, but they should support a properly formed detail rather than compensate for an unsuitable shape.
Movement also needs consideration. Long metal components can expand and contract, and inappropriate restraint can contribute to distortion or joint failure.
7. Reinstate And Check The Finished Work
Tiles, sheets and other disturbed components should be reinstated correctly.
Remove metal offcuts, drilling debris and loose materials. These can stain or damage roofing if left behind.
The final inspection should check the component’s fit, drainage path, connections and surrounding roof condition.
Where necessary, a controlled water test may help assess the completed detail. Testing should avoid introducing water in a way that does not represent normal exposure.
Installing Flashing On A Tiled Roof
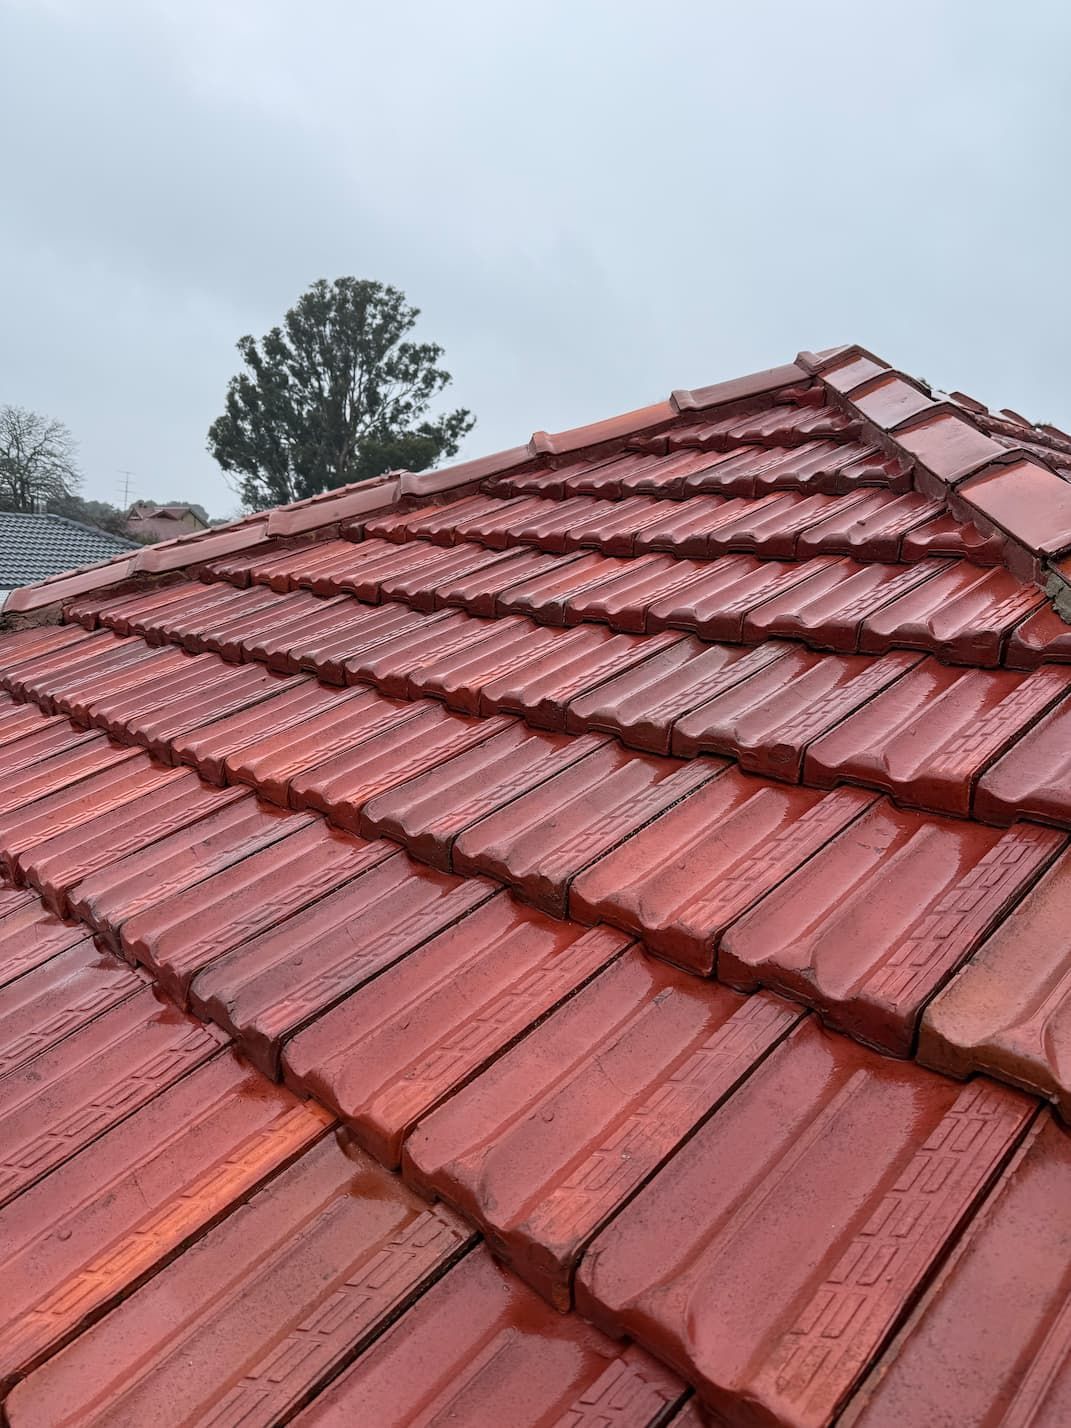
Tiled roofs require details that work with overlapping individual tiles.
Depending on the location, adjacent tiles may need to be lifted or removed to install the flashing properly. They must then be reinstated without obstructing water channels or leaving unsuitable gaps.
A flexible flashing product may suit some junctions, while formed metal components suit others. Selection depends on the application and compatibility.
Placing a strip over the top of the tiles and sealing every edge is not automatically an appropriate solution.
Installing Flashing On A Metal Roof
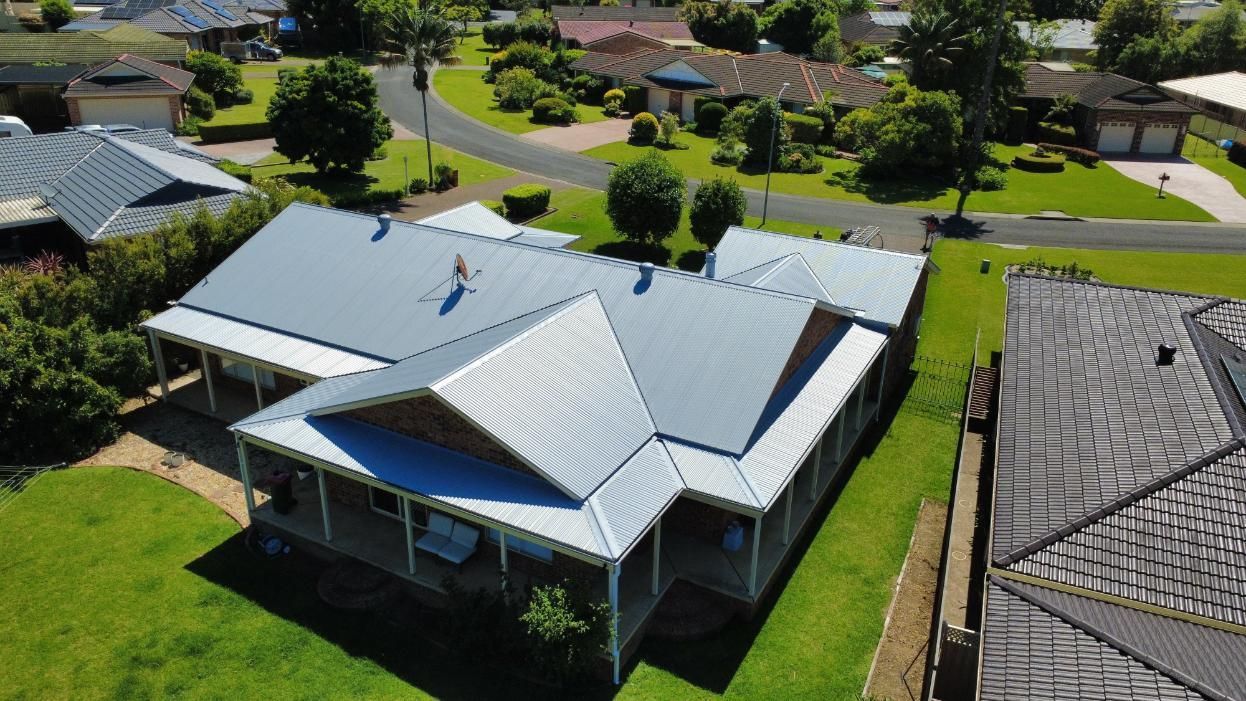
Metal roof flashing needs to suit the sheet profile and fixing system.
Corrugated, ribbed and concealed-fix roofs can require different details. Components crossing the profile may need shaping, while other arrangements need particular attention to uninterrupted drainage.
Material compatibility matters too. Contact between unsuitable materials, or runoff from one material onto another, can contribute to corrosion.
A correct installation should preserve the roof’s drainage and accommodate expected movement.
How Is Flashing Installed Around A Chimney?
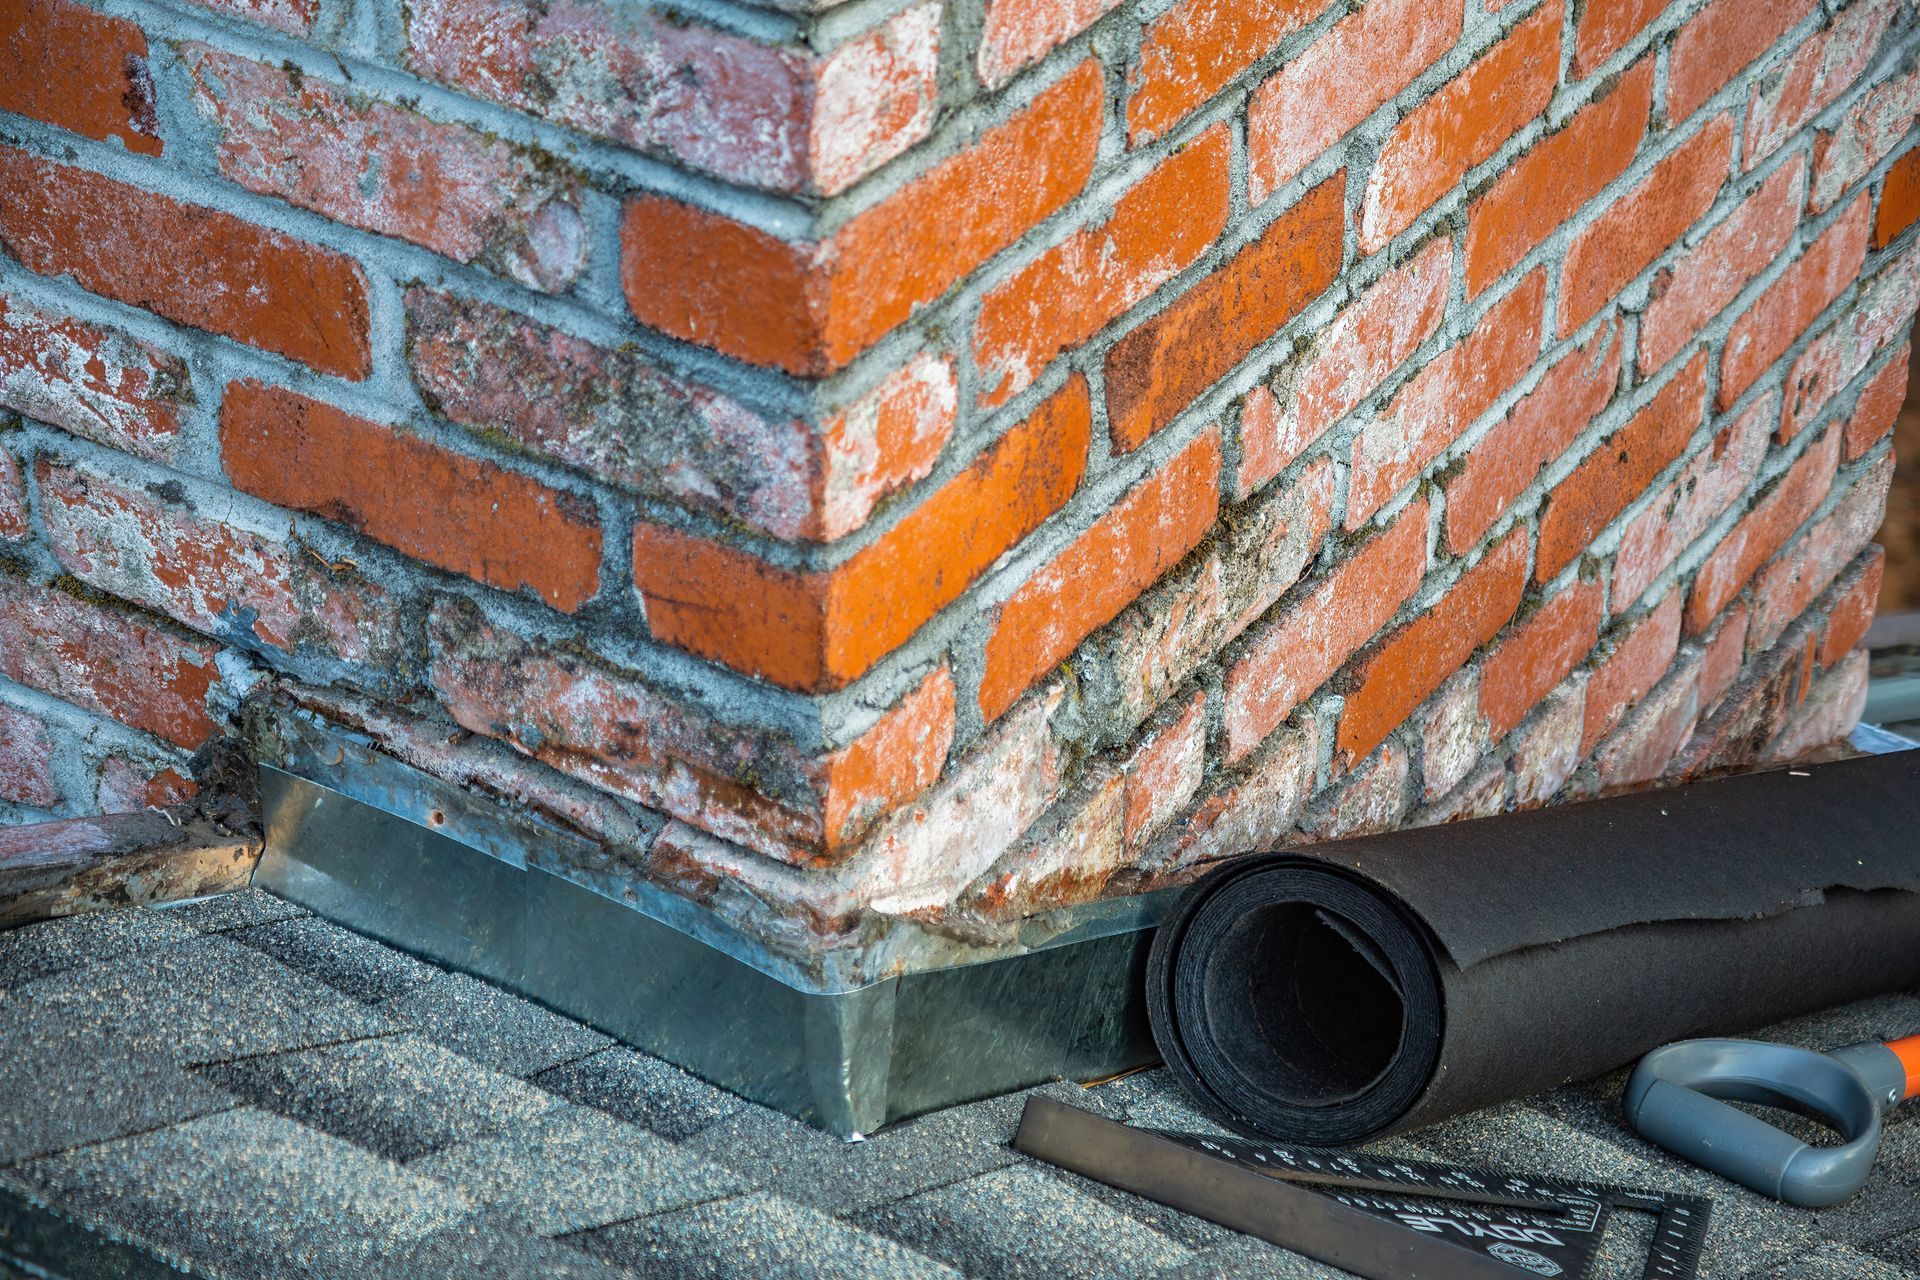
Chimney flashing normally involves coordinated details around several sides.
Water approaching from uphill needs to be diverted, side junctions need protection, and the downhill section must discharge water appropriately.
The connection to masonry is equally important. Depending on the construction, counterflashing or another suitable wall detail protects the upper connection.
Chimney size, roof pitch and surrounding geometry affect the design. A bead of sealant around the base does not replace this coordinated arrangement.
Common Roof Flashing Installation Mistakes
Problems can arise when installers:
- Copy a defective existing detail.
- Use incompatible materials.
- Provide unsuitable overlaps or coverage.
- Restrict drainage with fixings or sealant.
- Ignore movement requirements.
- Leave adjoining roof damage unresolved.
- Rely on surface patching around wall junctions.
- Fail to remove metal debris after installation.
Some mistakes remain hidden until particular rainfall conditions occur. That is why appearance alone is not a reliable measure of installation quality.
Does Flashing Replacement Require A Full Roof Restoration?
Not necessarily.
An isolated flashing defect may be repaired without repainting or restoring the entire roof. Conversely, broader deterioration may justify additional work.
Ask for an itemised quote explaining which components need replacement, what surrounding repairs are included and whether any other issues remain.
At Rapid Roof Services, we help homeowners understand the recommended scope before deciding how to proceed.

Written by Ryan Wilson
With over 15 years of roofing experience, Ryan is committed to delivering high-quality results for every client. As the owner and director of Rapid Roof Services, he takes pride in honest advice, unbeatable workmanship and ensuring every roof is restored to the highest standard.